DIY Balloon Garland vs Professional — What to Know
Should you DIY your balloon garland or hire a professional? A garland-specific comparison covering kits, tools, time, common failures, and when each option makes sense.
Balloon garlands are everywhere — Instagram, Pinterest, TikTok tutorials showing someone inflating a bag of balloons and clipping them onto a strip. It looks simple enough. But every week I get calls from people who tried a DIY garland kit and ended up with something sagging, patchy, or completely different from the photo they were trying to recreate.
This is a garland-specific comparison. If you're looking at all decor types, I wrote a broader post on DIY balloon decor vs professional. Here, I'm going deep on garlands — the construction process, the tools, the common failures, and when each option genuinely makes sense.
What Comes in a DIY Balloon Garland Kit
Most DIY garland kits ($30-$80) include:
- 50-120 latex balloons in pre-selected colors
- A balloon decorating strip (plastic strip with pre-punched holes)
- Glue dots for attaching accent balloons
- A hand pump or small electric pump
- Ribbon or fishing line for hanging
- Sometimes Command hooks or tape
What kits don't include: a balloon sizer, enough small fill balloons, extra balloons for mistakes, professional-grade latex, or any guidance on anchoring to different surfaces. These gaps are where most DIY garlands start to struggle.
The DIY Garland Process — What It Actually Takes
Here's the real timeline for a first-time DIY balloon garland:
- Inflating: 45-90 minutes for 80-100 balloons. Each balloon needs to be sized consistently — this is harder than it sounds without a sizer tool.
- Attaching to strip: 30-60 minutes. Push each balloon through a hole in the strip, alternating sizes.
- Filling gaps: 20-40 minutes. Use glue dots to attach smaller balloons in thin spots.
- Hanging and shaping: 30-60 minutes. Securing the garland to a wall, arch, or table and adjusting the shape.
Total: 2-4 hours for an 8-10 foot garland. And that's if everything goes smoothly — popped balloons, color sorting issues, and re-dos add time.
Common DIY Garland Failures
I've seen (and been called to fix) the same problems repeatedly:
Sagging
The number one issue. DIY garlands sag when there aren't enough anchor points, when the strip is overloaded relative to its support, or when balloons are under-inflated. Professional garlands use multiple attachment points — often every 18-24 inches — with hardware appropriate for the surface.
Inconsistent Sizing
Without a sizing tool, every balloon is a slightly different diameter. This creates a garland that looks random rather than organic. Professional decorators use sizing rings — templates that ensure each balloon hits an exact size before it goes on the strip. The difference between "random" and "organic" is consistency with intentional variation.
Color Mismatch
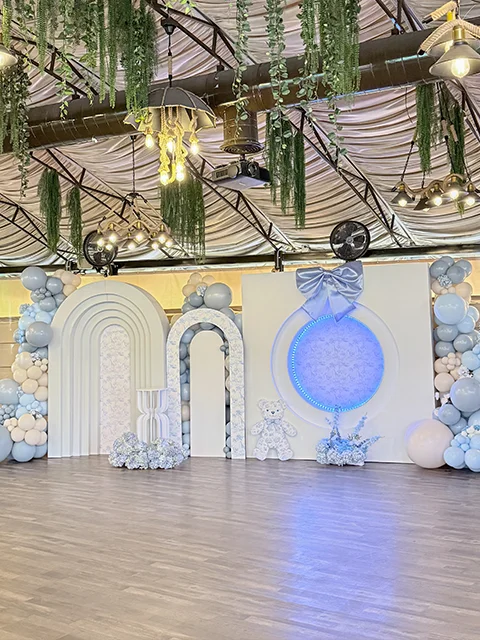
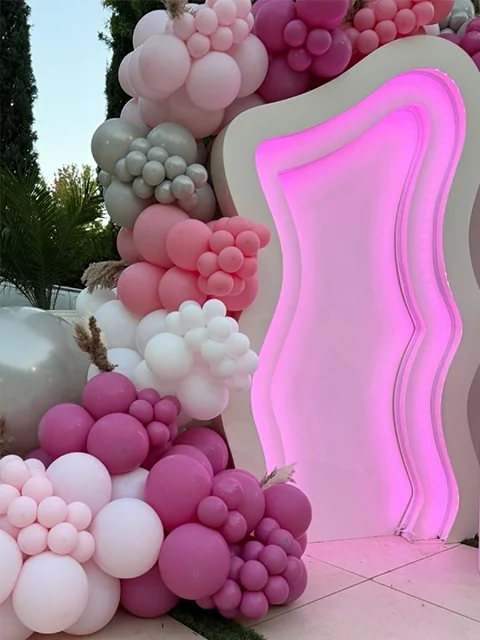
Kit balloons are often lower-quality latex with colors that don't quite match the product photo. Professional-grade balloons (Qualatex, TUFTEX, Sempertex) have precise, consistent color that matches across batches. I select every color individually from professional lines — not from a pre-packed assortment.
Gaps and Thin Spots
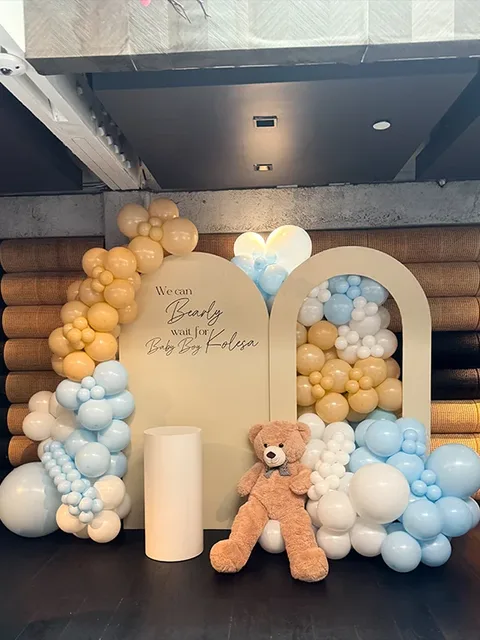
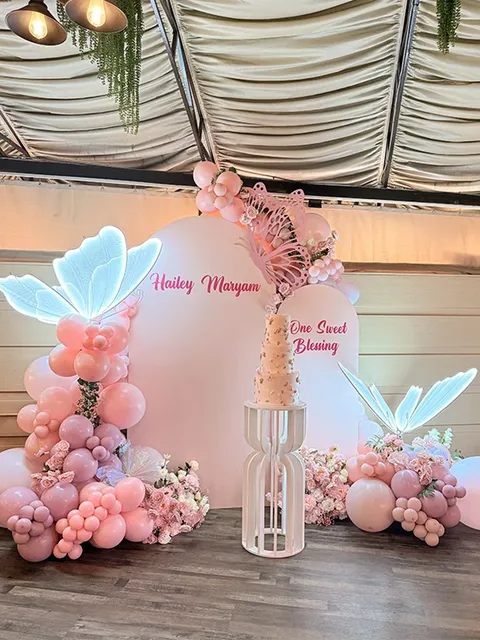
A professional balloon garland has no visible strip, no gaps, and no flat spots. This requires strategic layering — large balloons as the base, medium balloons filling the body, and small 5-inch balloons tucked into every crevice. Most kits don't include enough small balloons, and many DIY tutorials skip this step entirely.
Falling Down
Command strips, tape, and thumbtacks work on smooth, clean walls for light loads. A 10-foot garland weighs 5-15 pounds depending on density. That's a lot of weight for adhesive strips, especially in warm rooms where adhesive weakens. My team uses professional mounting hardware, zip ties, fishing line rated for the weight, and surface-appropriate anchors.
Cost Comparison
| Factor | DIY Garland Kit | Professional Garland |
|---|---|---|
| Materials | $30-$80 | Included in price |
| Total cost | $30-$80 + your time | $350-$2,000+ |
| Your time | 2-4 hours (8-10 ft) | Zero |
| Length range | 6-10 ft typical | Any length |
| Color precision | Limited to kit selection | Exact color matching |
| Lifespan | 1-2 days (standard latex) | 3-5 days (professional grade) |
| Installation | DIY mounting | Professional install + takedown |
For full pricing across garlands and other installation types, see my pricing page. For garland-specific cost breakdowns, read my post on balloon garland cost per foot.
When DIY Makes Sense
I'm not going to tell you that DIY never works — it does, in the right context:
- Small accent pieces: A 3-5 foot garland above a dessert table or highchair for a casual family party.
- Low-stakes events: Backyard birthday, casual brunch, or any event where the garland is a fun touch rather than the main visual element.
- You enjoy the process: If balloon crafting sounds fun rather than stressful, a small DIY project can be a satisfying creative activity.
- Budget is very tight: When the alternative is no garland at all, a $50 kit is a reasonable choice.
When to Hire a Professional
A professional garland is the better investment when:
- The garland is the main decor piece: If it's the backdrop for photos, the first thing guests see, or the centerpiece of the room — it needs to be flawless.
- Length exceeds 8 feet: Longer garlands multiply every DIY challenge. A 20-foot garland is a completely different project than a 6-foot one.
- The event is professionally photographed: Photography reveals every inconsistency. Professional garlands hold up to close-up shots and wide angles alike.
- You're spending significantly on the venue or event: If you're investing $5,000+ on a venue, catering, and other vendors, a $50 DIY garland creates a visual disconnect. Read more on whether professional balloon decor is worth it.
- Complex design: Multi-color palettes, chrome finishes, mixed sizes, integrated foil elements, or flowing organic shapes require professional tools and experience.
What a Professional Garland Process Looks Like
When I design a garland for a client, the process includes: color palette selection from professional balloon lines, a layout plan based on the venue and mounting surfaces, balloon prep and inflation with sizing tools for consistency, on-site installation by my team with proper hardware, and shaping — adjusting every cluster for the perfect organic flow. After the event, my team handles takedown.
The finished result is denser, more dynamic, longer-lasting, and securely mounted. That's the difference between a $50 kit and a professional installation — and it's visible from across the room.
If you're debating between DIY and professional for your event, I'm happy to look at your space and give an honest recommendation. Sometimes a small DIY garland is genuinely the right call. Other times, the professional version is what will make the event feel complete. Reach out and I'll help you decide.
Keep Reading
Frequently Asked Questions
How long does it take to DIY a balloon garland?
How much does a DIY balloon garland kit cost vs hiring a professional?
Why does my DIY balloon garland keep sagging?
When is a DIY balloon garland a good idea?
What tools do I need to make a balloon garland?
Written by
Alina
I design and install custom balloon installations for events across Los Angeles. Every project is personal.
Check Availability →